Note on ChatGPT support
Full support for MCP client access in connectors and tools is currently in beta in ChatGPT. At the moment, it’s only available in Developer mode for Pro and Plus accounts on the web. While it’s in beta, we recommend being as explicit and precise as possible in your prompts. For example:- Mention the CUFinder MCP connector directly.
- Specify the tool or endpoint to use.
- Indicate which fields to pull and how to sort the results.
- Excplicitly ask ChatGPT not to use the web search.
Setup guide
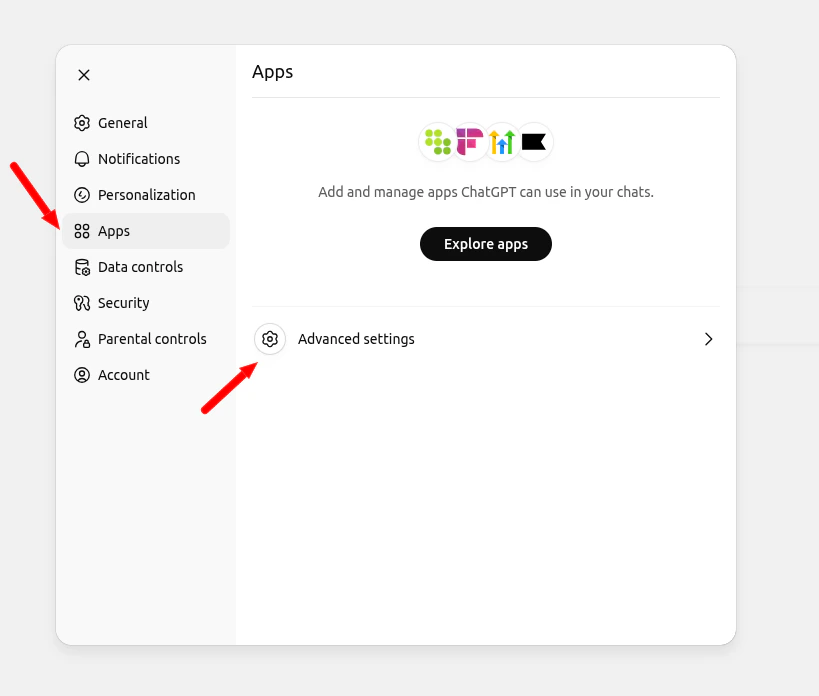
Follow these steps to add CUFinder MCP server to ChatGPT Web:- Go to Settings > Apps > Advanced settings
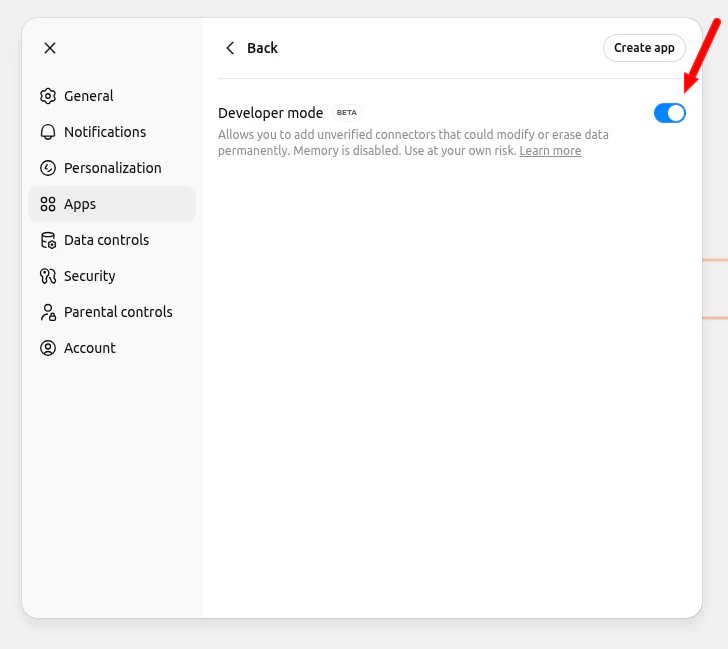
- Enable the “Developer mode”.
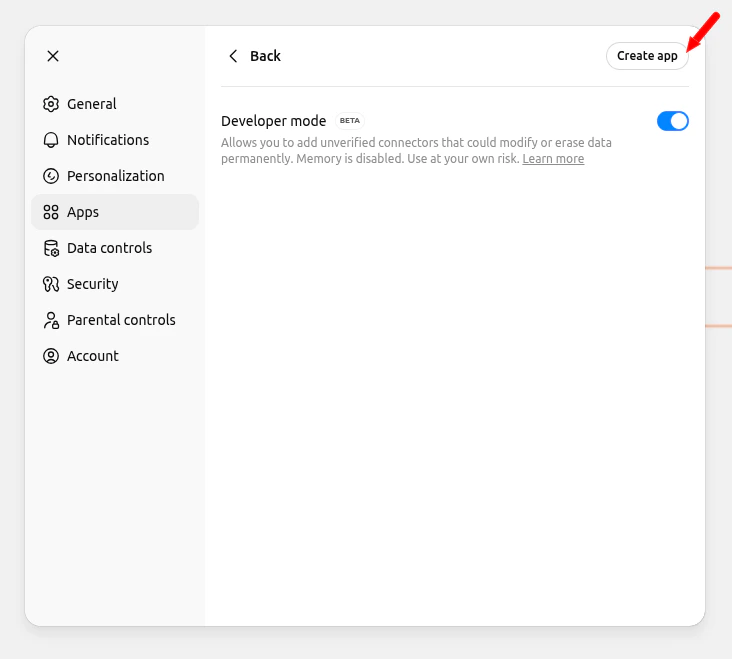
- Click the “Create app” button.
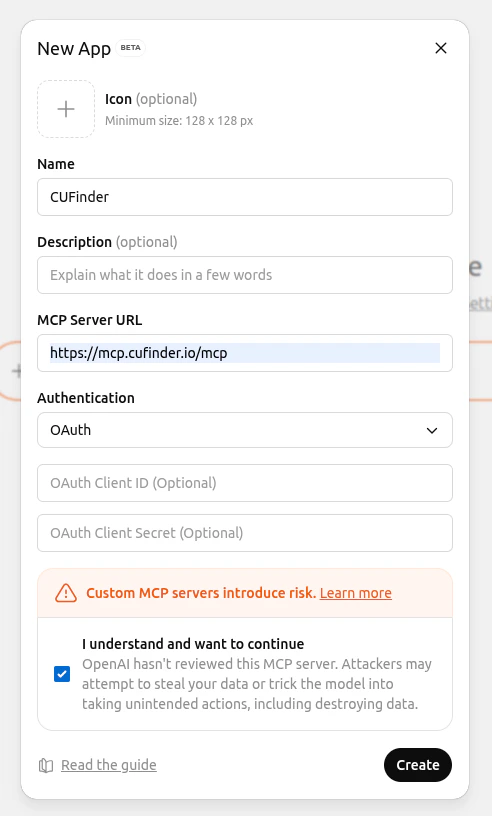
- Fill in the new Connector details:
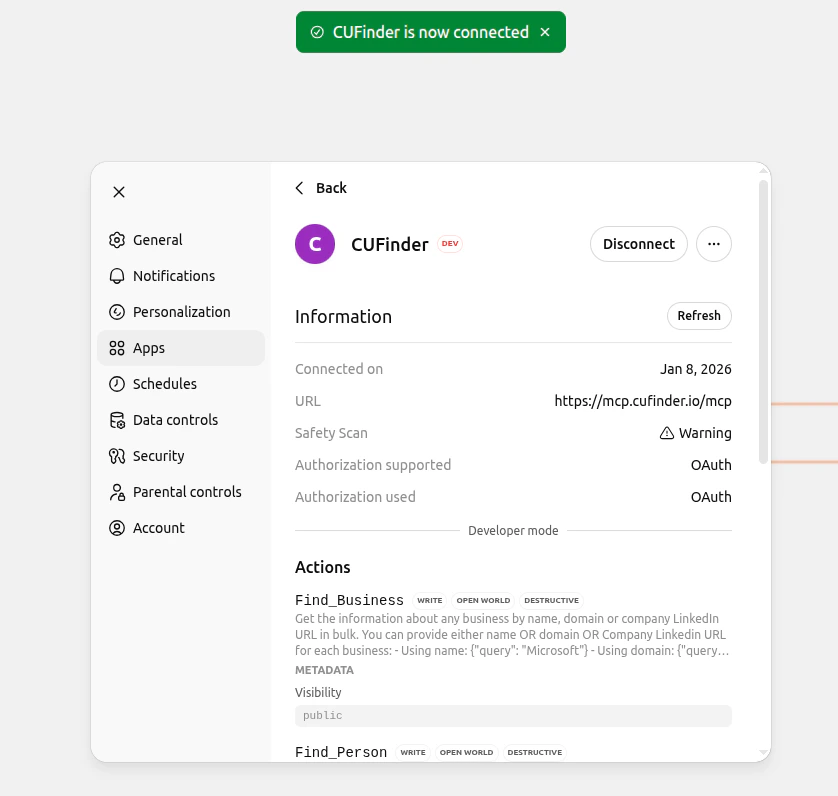
- MCP Server URL: https://mcp.cufinder.io/mcp
- Authentication: OAuth
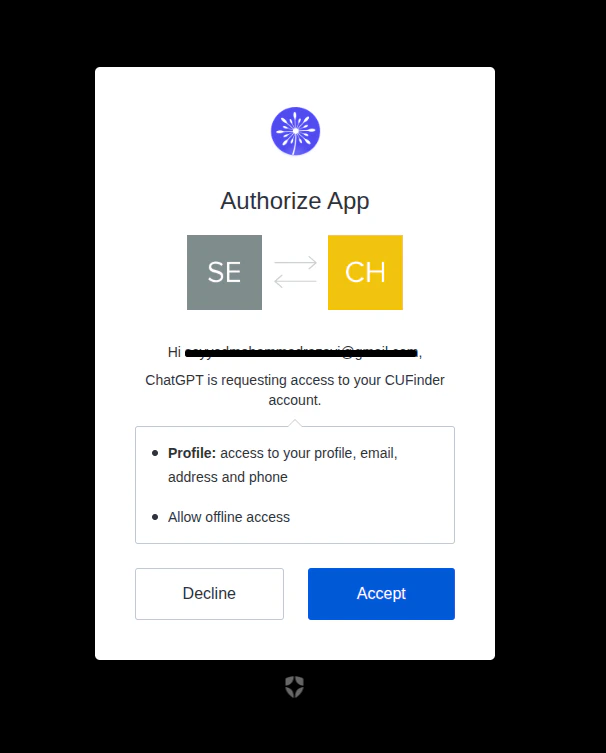
- In the opened page, enter your CUFinder dashboard username and password, then click Connect.
- Then, click Yes to confirm that Chatgpt is requesting access to your CUFinder account.
- Check that the apps in ChatGPT is successfully connected.
- Activate the CUFinder connector in the chat before starting the query:
- Click on the ”+” sign → “More” → “CUFinder”
