Installation
- Click on your profile icon (often your initials) in the lower-left corner and choose “Settings” from the menu.
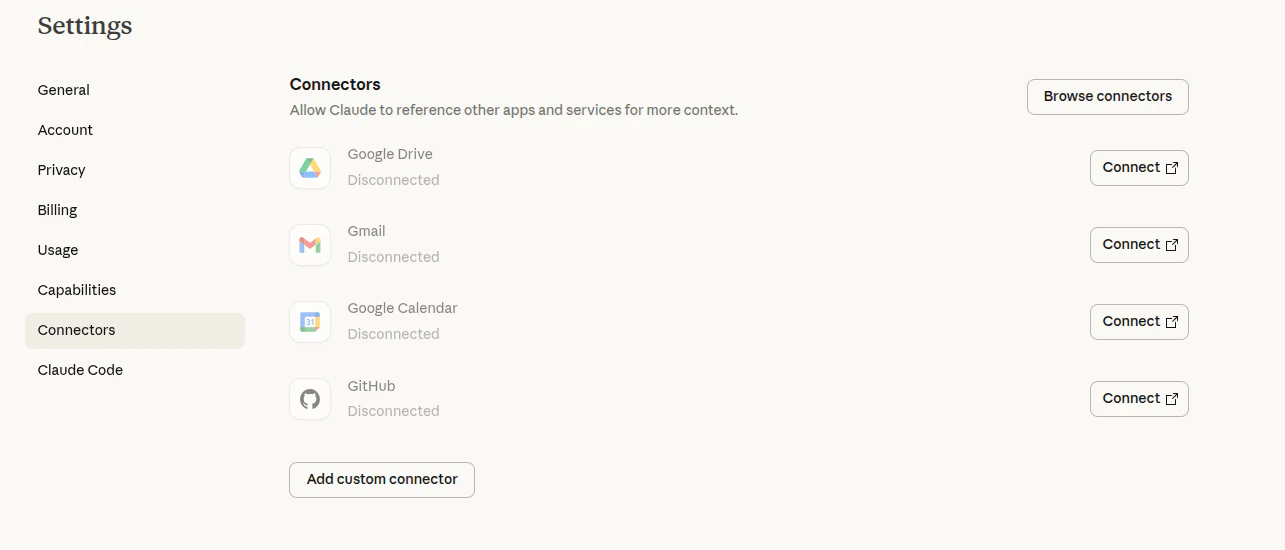
- In the Settings, select Connectors and click “Add custom connector.”
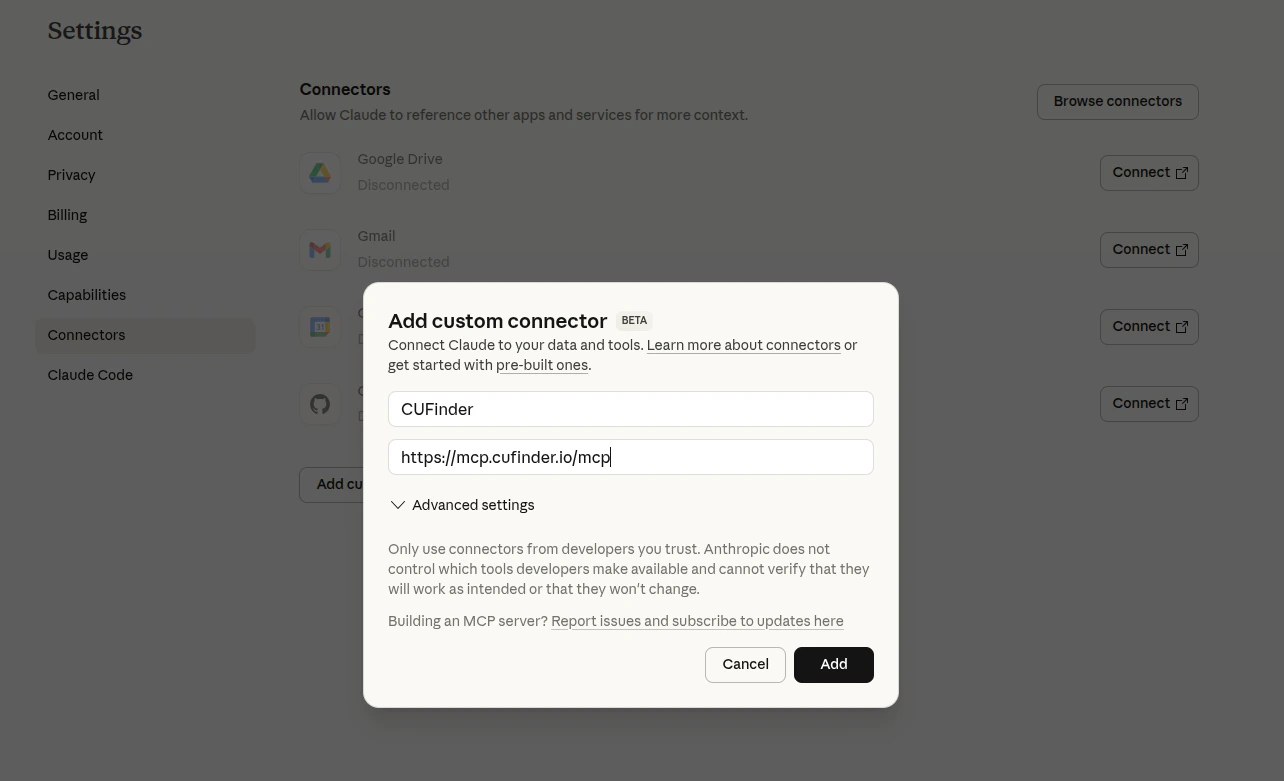
- Enter the connector’s name ‘CUFinder’ and URL https://mcp.cufinder.io/mcp and click “Add”.
- The CUFinder MCP connector will appear in the list of connectors. Click “Connect”.

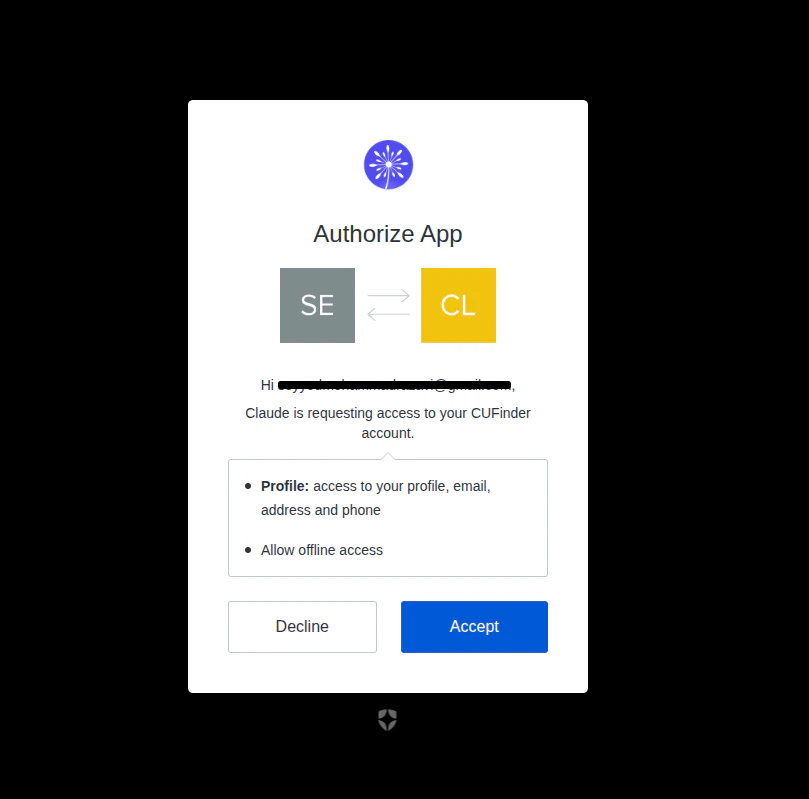
- In the opened page, enter your CUFinder dashboard username and password, then click Connect.
- Then, click Yes to confirm that Claude is requesting access to your CUFinder account.
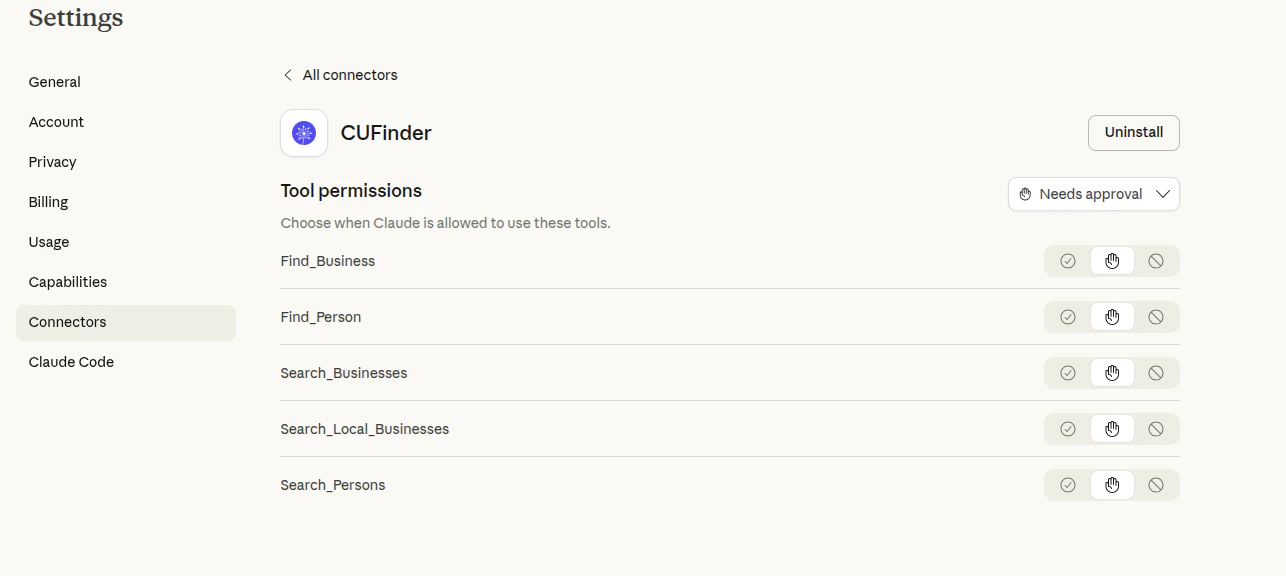
- Once connected, you will see a CUFinder MCP server was added to your connectors.
Using CUFinder Connectors
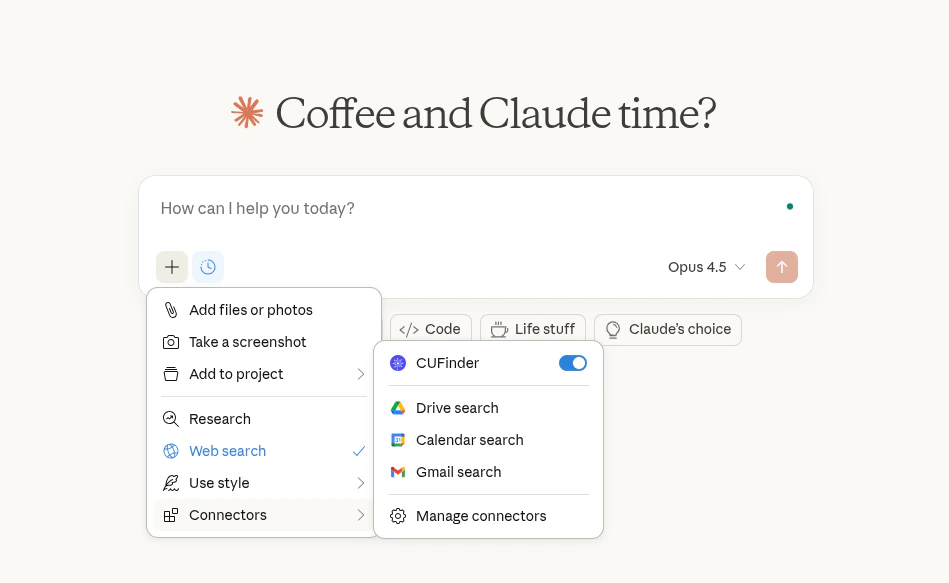
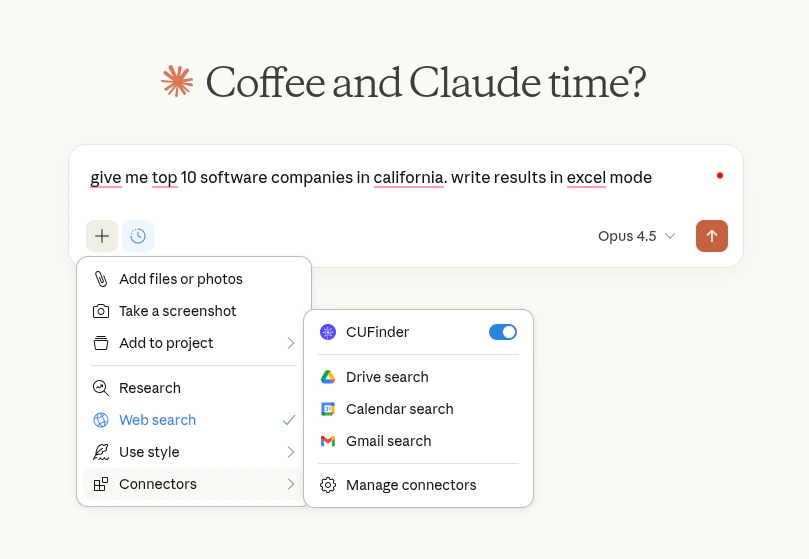
- Enable the connector in the chat settings dropdown
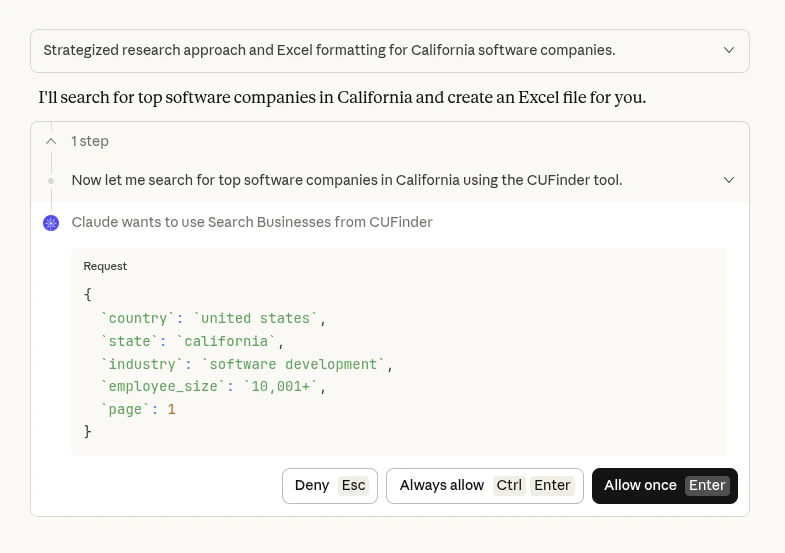
- Add a query, for example: “give me top 10 software companies in california. write results in excel mode”
- Note that in Claude Connectors Settings , if the connector is set to “Always ask permission”, you will be prompted to grant permission before any query can return an answer. You can choose “Allow unsupervised” to grant the connector access automatically. This ensures smooth and uninterrupted use of the Ahrefs tools without repeated permission prompts.